Intro
As the name already precisely gives away what it does, this special element creates a table listing the contents of your report. You can choose for each chart, table, or text element of your report whether it should be considered and displayed in the TOC or not (for example to skip headers). Furthermore can the TOC function as PDF bookmarks only, without being displayed on your report.
The TOC (table of contents) element itself basically behaves like other regular elements, meaning you can place it anywhere in the order of elements in your report (beginning, end, or somewhere in between) and also as often as you like.
If the report gets exported to PowerPoint, Excel, or other formats, then the TOC element will not be considered.
Show Elements in TOCBy default, each element of your report will be considered and displayed in the TOC, even if you add the TOC element later on. You can opt-out for each element, which you don't want to be visible in the TOC (for example headers, paragraphs, certain objects, etc.). Besides this, you can also set the following properties individually for each element:
You can find these settings under TOC Table of Contents of each Chart, Table, or Text element: | 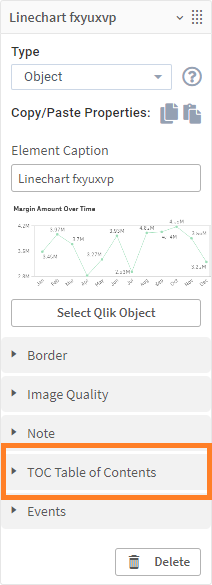 |
Show cycled elements You can also show a header for a cycle start in the TOC, as well as each looped element within the cycle. Refer to Cycling Elements to learn more. Note The TOC is not visible/enabled, as long as no element of your report is assigned to the TOC. A header is not included, but you can add one with a text element anytime. Line elements are not considered in the TOC. | |
Basic TOC SettingsHere begins the description of all available settings for a TOC element. Start by adding a TOC element and set general element properties. | |
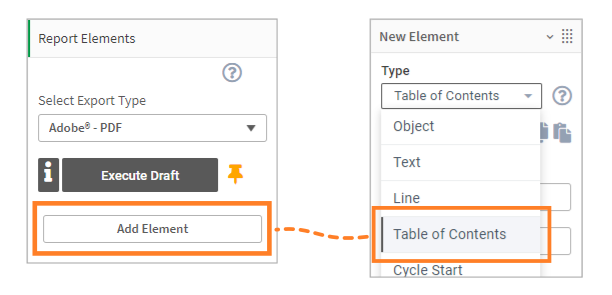
Adding TOC element
NOTE: The Add Element button is always available at the bottom of the properties panel. For multiple elements, please scroll down to see the button.
| |
CaptionWhen you add a TOC element, the caption is automatically populated as TOC Table of Contents. |  |
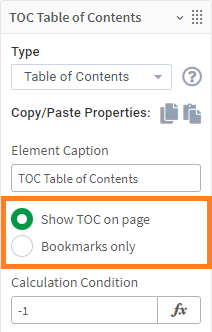
VisibilityYou can choose whether to display this TOC element on a page of your report as well or to generate it only in the meta data to utilize it for PDF bookmarks.
|  |
Calculation conditionIn the Calculation Condition field, specify an expression to display the TOC element. It works just like the activation condition but is specific to each element. You can specify the value as a calculated formula. Refer to the Qlik documentation to know more. | 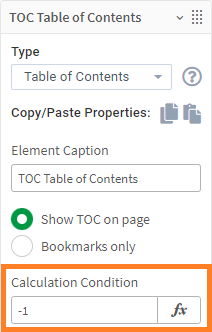 |
TOC Element Properties
AnchorIf there is another existing element on your sheet that comes before in order, you will see an Anchor tab. This setting defines the relative position of elements on the report page. Drag the orange box "B" to set the position of this TOC element with respect to the preceding element "A" or choose an anchor position from the drop-down list above. To learn more about how all the positioning and sizing settings work together and affect each other, and how to precisely position the elements on your report by combining them, go to Positioning and Sizing elements. | .png) |
PositionClick the Position tab to define general position settings for the TOC element on your report.
| 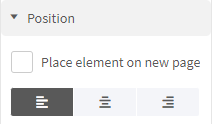 |
FontClick the Font tab to specify the font properties of the TOC element.
The Font Style (bold, italic, etc.) can be set for each element separately in the corresponding TOC menu of the elements: | 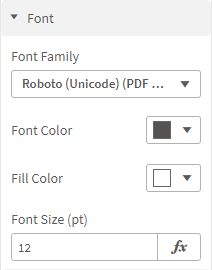 |
SizeClick the Size tab to set the sizing type and optionally the width of the TOC element on your report.
Width The width setting is only visible, if the size Type is set to "Percent of page size" or "Numeric value". | 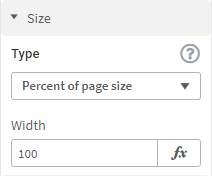 |
SpacingClick the Spacing tab to define the distance of the TOC element from neighboring elements on your report. You can do this separately for Left, Right, Top, and Bottom. The behavior of spacing depends on the selected size type.
| .png) |
Cell PaddingThe TOC is basically a table with two columns, left one for the content headers and right one for the page numbers. Click the Cell Padding tab to define the distance of table content from the cell lines inside this table. Enter the padding value for Left, Right, Top, and Bottom. Optionally, provide an expression for specifying conditional padding value. NOTE: The cell padding value is always specified in points. | 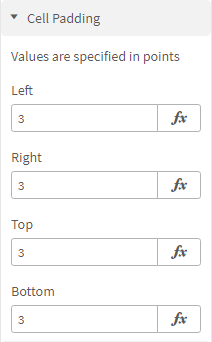 |
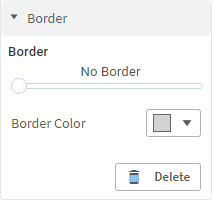
BorderAdd a border framing the TOC. Borders are particularly useful when designing the report with multiple elements, as they present a clear picture of what element takes up how much space exactly. Once you have this visibility, you can easily decide the size and margin for all elements. |
|
Deleting TOC elementAt any time, you can click the Delete button to delete the TOC element. | |
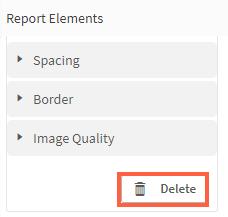 | .png) |
Next Steps:
- Learn more about positioning all elements
- See a report draft in the preview window
- Or, share and export the report