Line and rectangle elements help in creating better structures and layouts in your report, or just to show segregation between elements and sections.
Adding line or rectangle element
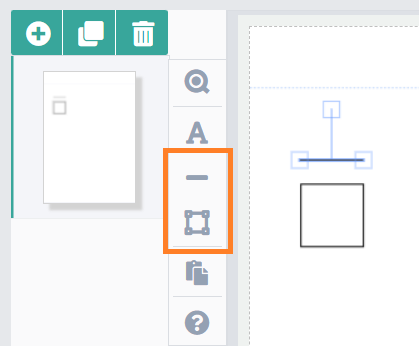
To add a line or a rectangle element to your report, drag the icon from the toolbar onto your report designer sheet.
Size and position
Note
All size and position measurements are calculated in the Report Unit specified in the Report Settings.
You can quickly drag, drop, resize, and order your elements on the report. However, for further precision, the system also offers absolute control over sizing and positioning using numeric values to easily create pixel-perfect reports.
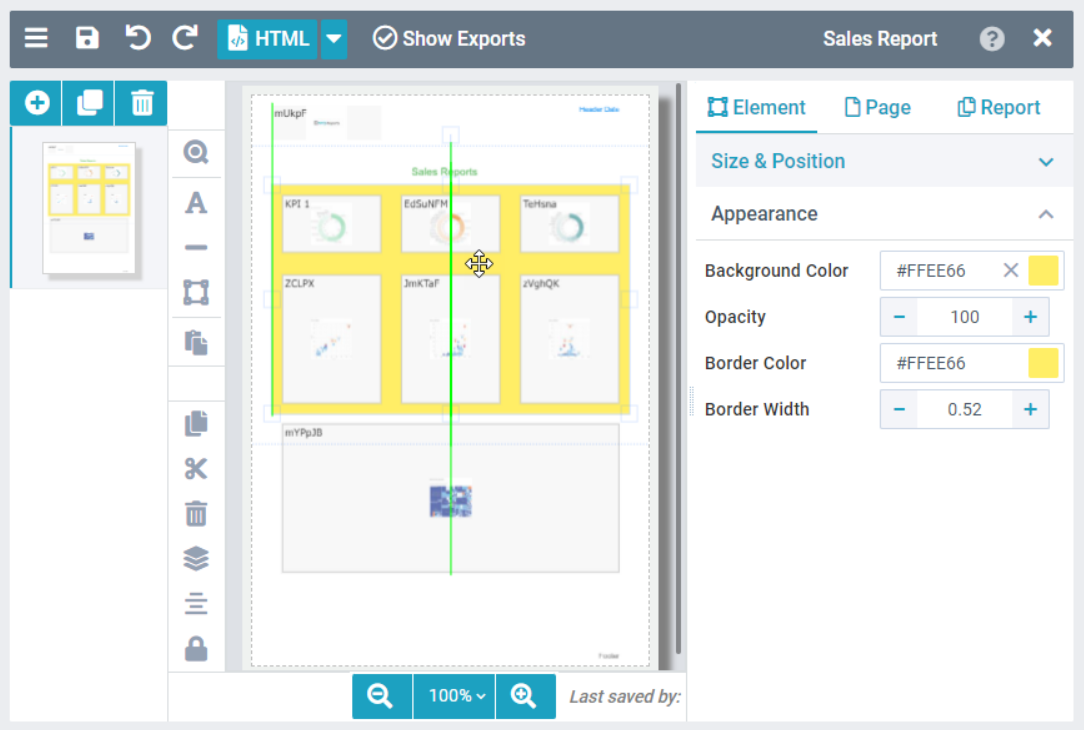
When sizing and positioning elements using mouse drag operations, you will also see design guides (shown as green lines on the image) to help you in correct placement.
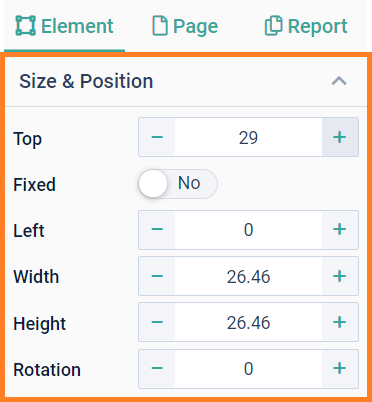
For Line and Rectangle elements, you have the following options available:
Position
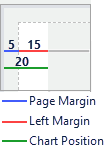
You can set the position of an element by specifying its distance from the white space on the designer sheet. The position settings specified here are calculated in addition to the Page Margin specified in the Page Settings.
For example, if you have specified the page margin as 5 mm, and the left margin as 15 mm, then the text element would be placed at 20 mm from the left edge of the page, as shown in the image.
Top: Specifies the distance of the element from the top page margin. The element is placed at a distance of page margin value + Top value from the edge of the report page.
Fixed: Enable this option to fix the position of the element on the sheet. In this case, the position of the element remains fixed on the page and will not move according to the size or position of the element above it. NOTE: This is applicable only to the top position of the element, as it can only be impacted by elements (typically, a table) above, which would shift the element further down (as tables are the only elements that have no predictable height). It has no impact on the horizontal position.
The Fixed option is not the same as the Lock provided on the Toolbar.
Locked prevents manual shifting (by user operations)
Left: Specifies the distance of the element from the left margin of the page. The element is placed at a distance of page margin value + Left value from the edge of the report page.
NOTE: If you have enabled Header on the Page Settings and your element touches inside the header area, it will be repeated on each report page.
Size
Width: Specifies the width of the element on the page.
Height (Rectangle only): Specifies the height of the element on the page.
Rotation
Specifies the angular placement of the element on the report page.
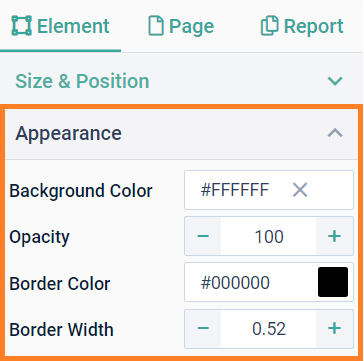
Appearance
The Appearance settings allow you to define how the line or rectangle elements look.
Background color (Rectangle only) specifies the fill color of a rectangle element. Use the X icon to remove the background color to only show the rectangle border.
Opacity sets the transparency level for the whole element in percentage. This means, a value set as 0 is fully transparent and 100 fully opaque.
Border Color and Border Width set the line element or the border of the rectangle element. In the case of a rectangle border, it doesn't add to the size of the element as it grows towards inside the element.